Solar Panel Installation Process in California: What to Expect Step by Step
March 5, 2026
|
California
Going solar is one of the smartest investments a California homeowner can make — but the process can feel overwhelming if you don't know what to expect. In this guide, we walk you through every step, from your first consultation to flipping the switch on your new solar system.
The entire process typically takes 4–8 weeks from signing to activation. Here's exactly what happens at each stage.
Everything starts with a free consultation. During this phase, your solar installer will:
At Everysun, we provide transparent proposals with no hidden costs. You'll see exactly what you're paying for and what you'll save — before you commit to anything.
Once you're happy with the proposal, you'll sign a contract and choose your financing option:
Your installer handles all the paperwork. You'll also sign interconnection agreements with your utility company — this is what allows you to connect to the grid and receive credits for excess energy.
After signing, the engineering team creates detailed plans for your system:
These plans are needed for permits and are prepared by licensed engineers.
Your installer submits permit applications to your local building department. This is one of the most variable parts of the timeline:
California's Solar Rights Act protects your right to install solar — HOAs cannot prohibit solar installations, and cities must process applications within a reasonable timeframe.
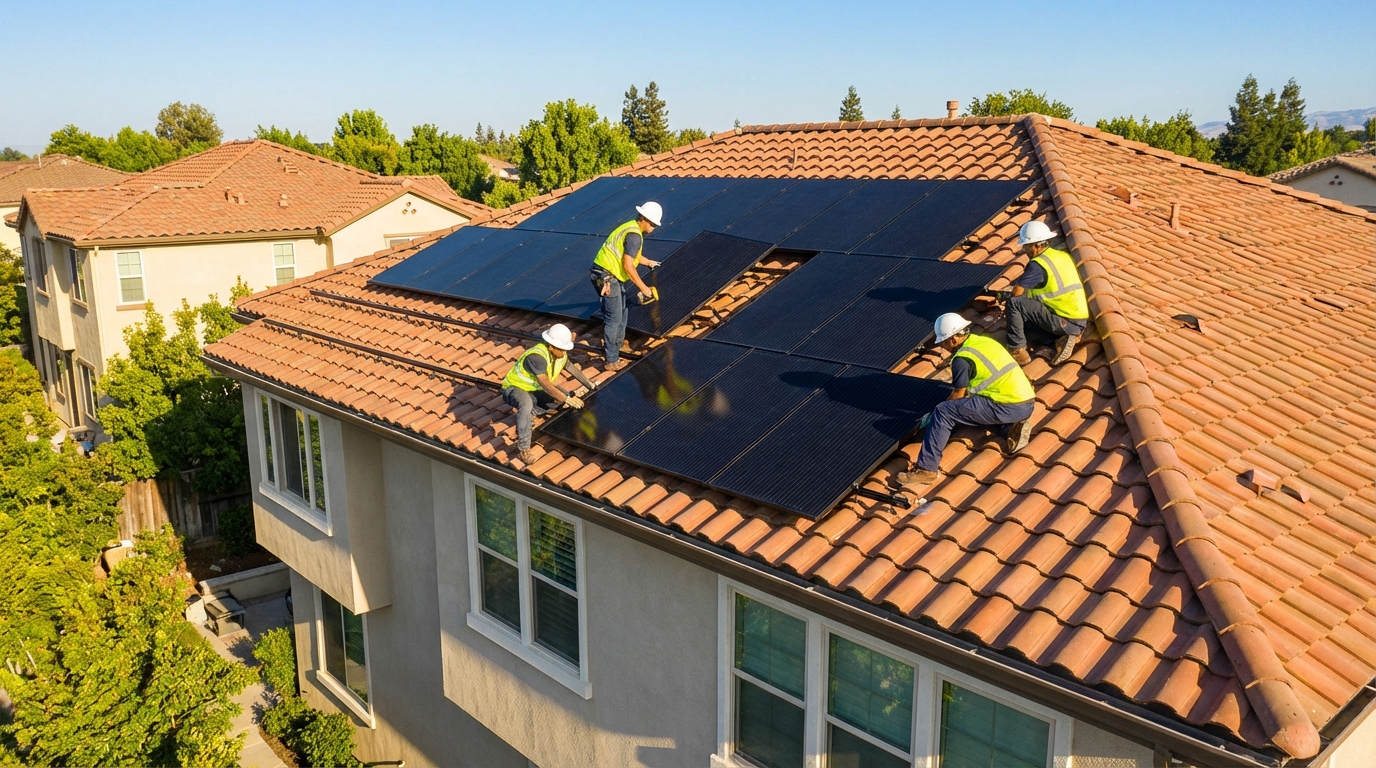
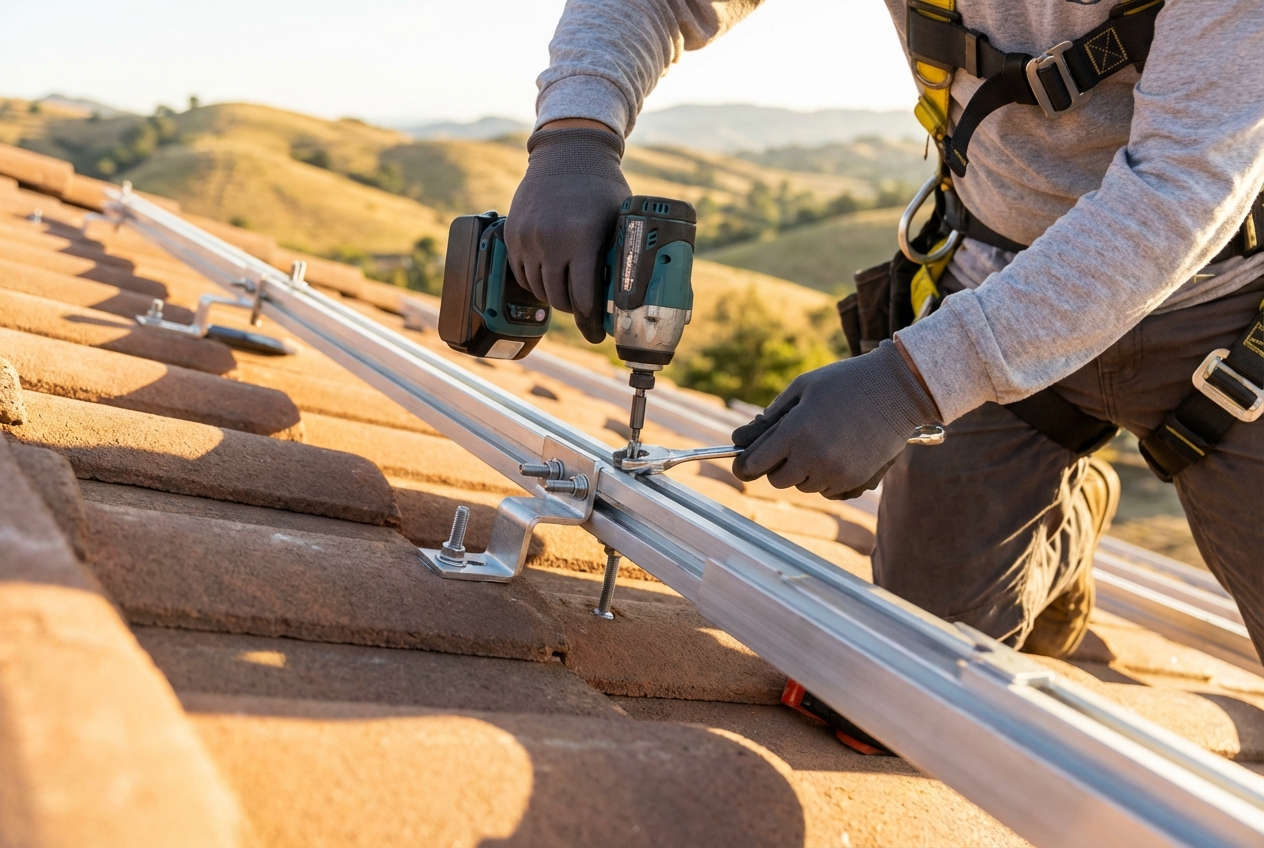
This is the exciting part. A typical residential installation takes 1–2 days:
The installation team handles everything — you don't need to do anything except be home to provide access. Most homeowners say they're surprised how clean and quick the process is.
After installation, your local building department sends an inspector to verify everything meets code. This includes:
In most cases, the inspection is straightforward and passes on the first visit. If any corrections are needed, your installer handles them at no additional cost.
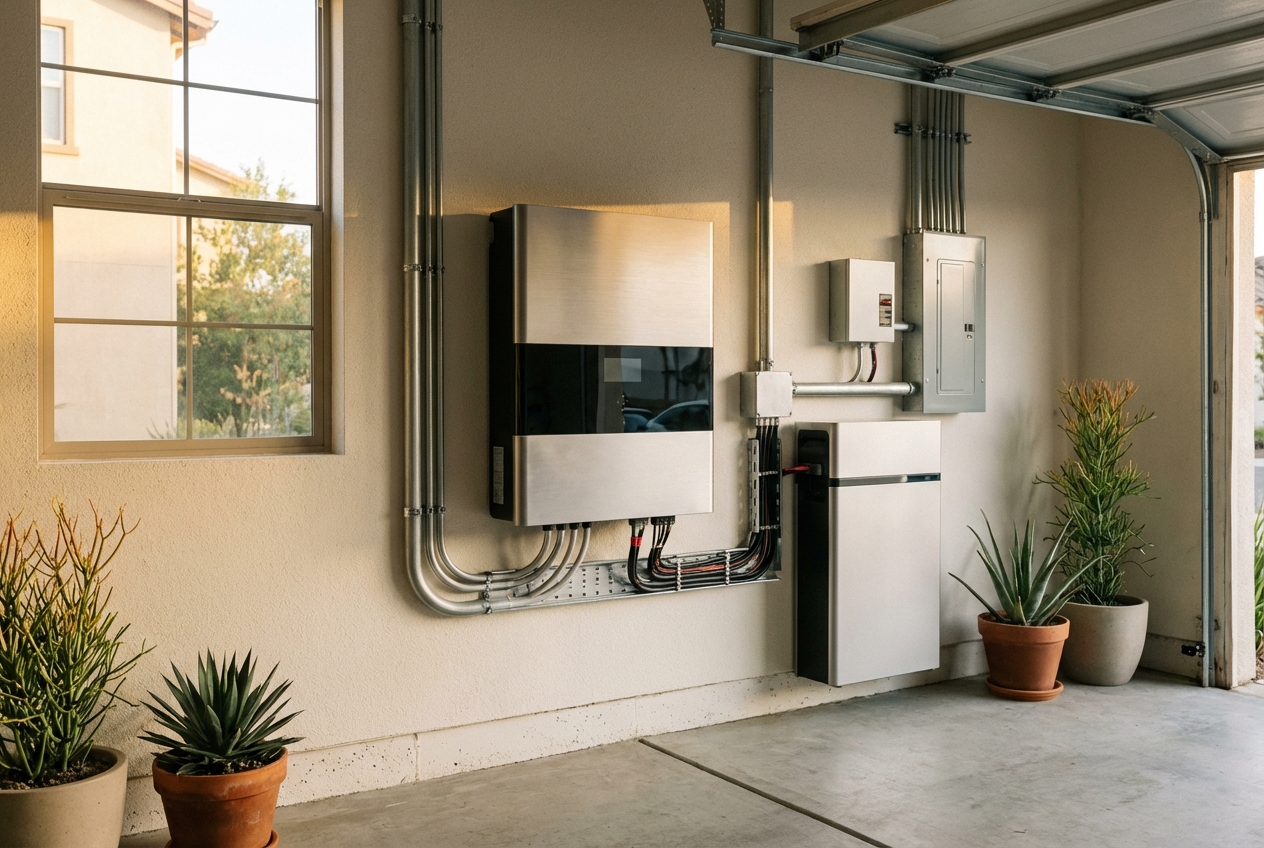
The final step is Permission to Operate (PTO) from your utility company. This is when your utility officially allows your system to connect to the grid and start generating credits.
Important: Do not turn on your system before receiving PTO — your utility needs to install a new bi-directional meter and update your account.
Once you have PTO, it's time to flip the switch! Your installer will help you:
From this point forward, your solar system works automatically. You'll see your electricity bills drop dramatically — most Everysun customers see 80–100% reduction in their utility costs.
The journey to solar starts with a single step — a free consultation. At Everysun, we handle everything from design to installation to utility coordination. Get a free consultation today and see what solar can do for your California home.
© 2025 Everysun Inc. All Rights Reserved.


Get Your Free Solar Quote
Request your free quote and see how solar can work for your home and budget